Events
The Events module allows you to manage physical or virtual events — conferences, seminars, webinars or any gathering — by capturing event details, recording a venue location, and managing delegate invitations and attendance. The module has two components: Locations (for venue information) and Events (for the event itself and its delegates).
Key Fields
-
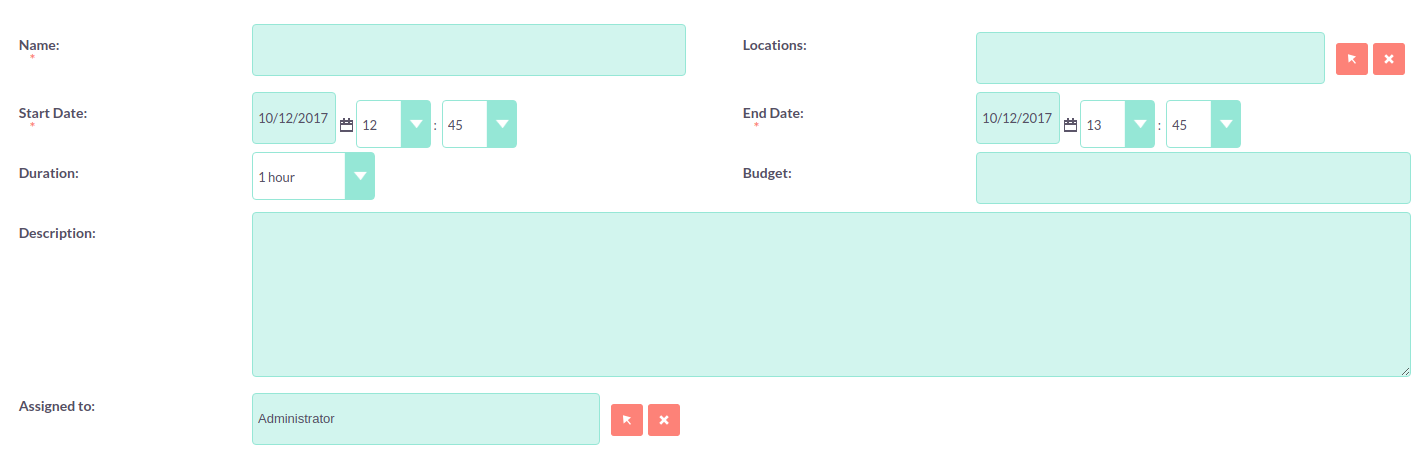
Name: the name of the event. Required.
-
Start Date / End Date: when the event begins and ends. Required.
-
Duration: automatically calculated from the start and end dates. Changing the duration adjusts the end date accordingly.
-
Location: a relationship to the Event Locations module (see Event Locations below).
-
Budget: the planned spend for the event.
-
Email Invite Template: the Email Template sent to delegates when invitations are issued.
-
Accept Redirect URL: the web page delegates are redirected to after accepting an invitation via the link in the email template.
-
Decline Redirect URL: the web page delegates are redirected to after declining an invitation.
-
Description: additional information about the event.
Event Locations
The Locations module captures venue details for events. To create a location:
-
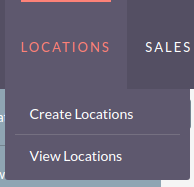
Hover over the Locations module on the navigation bar and select Create Location.
-
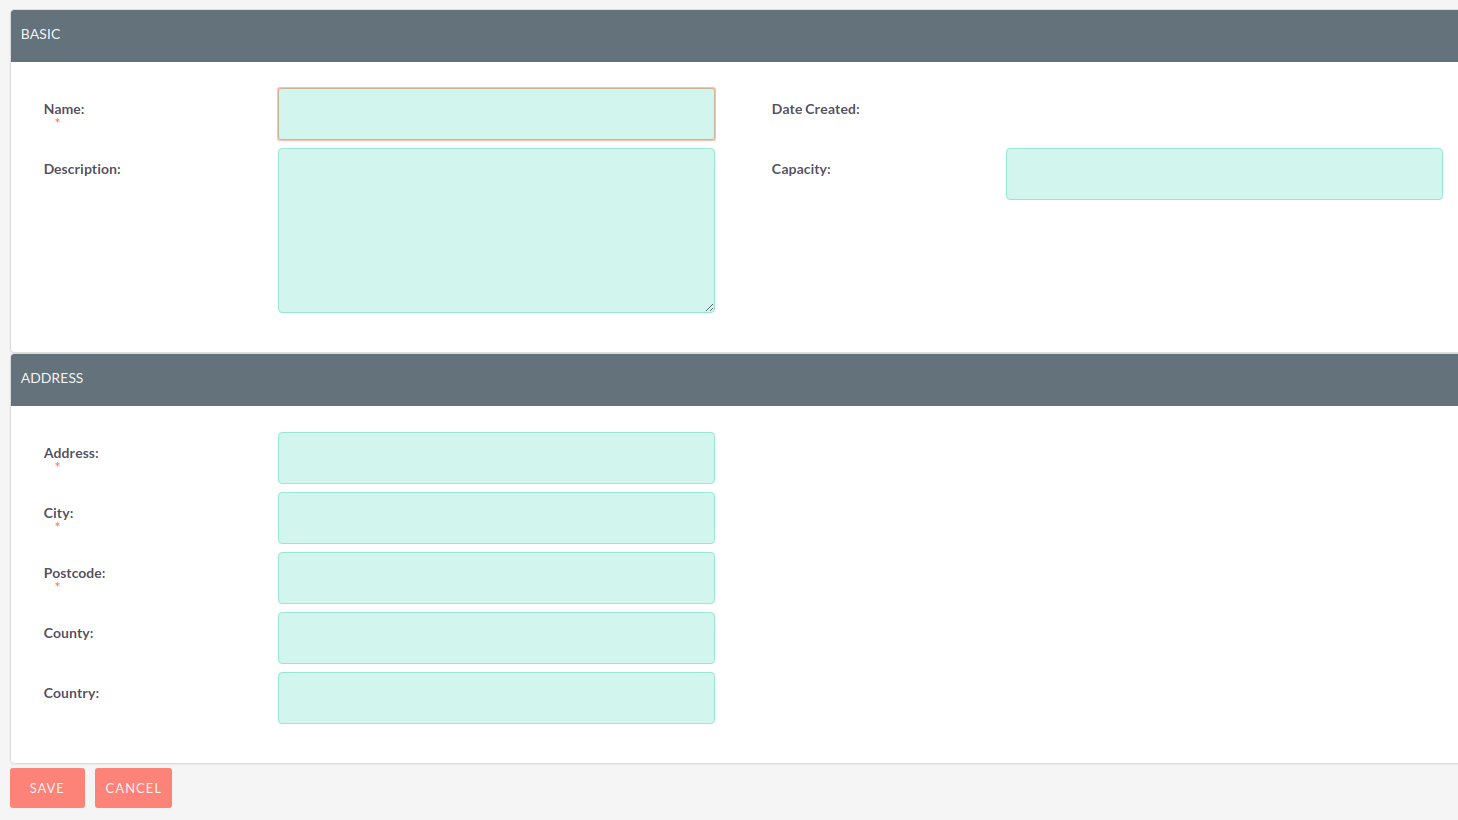
Enter the venue details in the Edit View. All required fields are marked with a red asterisk.
-
Click Save.
Creating Events
-
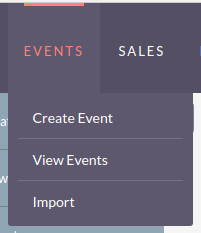
Hover over the Events module on the navigation bar and select Create Event.
-
Enter the event details in the Edit View. All required fields are marked with a red asterisk.
-
Click Save.
Adding Delegates
-
Navigate to the Event Detail View.
-
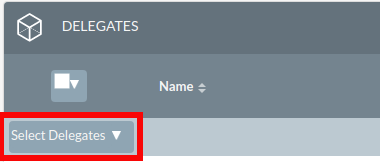
Scroll to the Delegates sub-panel.
-
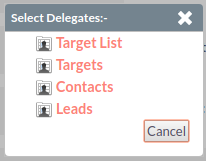
Click Select Delegates. A list of options will appear.
-
Select the appropriate option depending on who should be added:
-
Target List: all Targets, Leads and Contacts on the selected Target List will be added to the Event.
-
Targets: select individual Targets to add.
-
Contacts: select individual Contacts to add.
-
Leads: select individual Leads to add.
-
Events: import the delegate list from another Event.
-
-
A search pop-up will appear. Find and select the records to add.
-
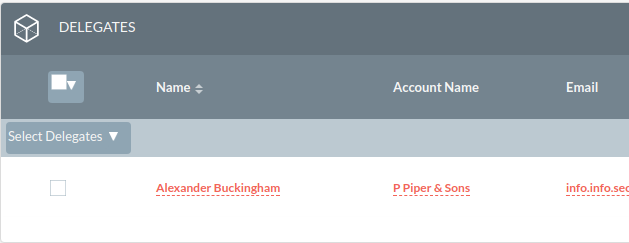
The Delegates sub-panel will populate with the selected records.
Sending Invites to Delegates
-
Navigate to the Delegates sub-panel.
-
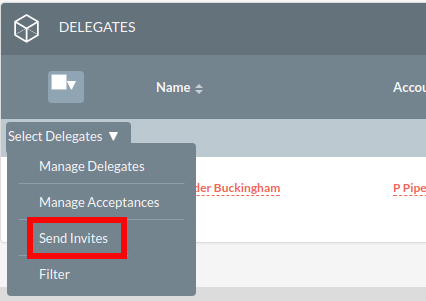
Choose action Send Invites.
-
This sends the Email Invite Template to all delegates with a status of Not Invited.
-
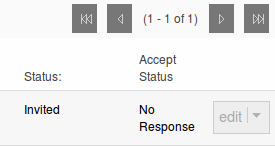
Once sent, each delegate’s status automatically updates to Invited.
-
Choosing Resend Invites sends invitations to all delegates who have not yet responded.
Managing Delegate Acceptance
-
Navigate to the Delegates sub-panel.
-
Select the delegates whose acceptance status needs updating.
-
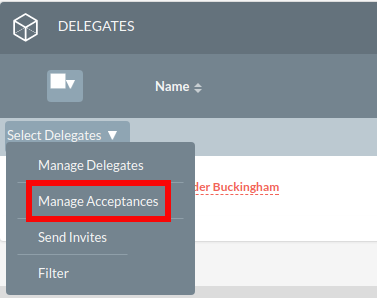
Choose action Manage Acceptances.
-
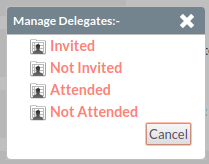
Select the appropriate status from the list.
-
The delegates' acceptance status will be updated accordingly.
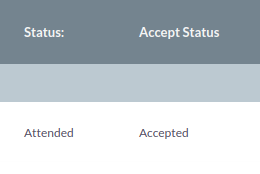
Acceptance status is updated automatically if the delegate clicks the accept link in the email invitation.
Updating Delegate Attendance
-
Navigate to the Delegates sub-panel.
-
Select the delegates whose attendance status needs updating.
-
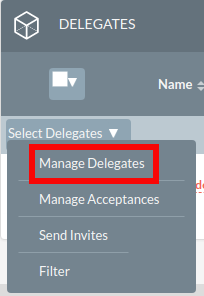
Choose action Manage Delegates.
-
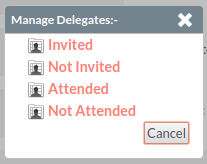
Select the appropriate status: Invited, Not Invited, Attended or Not Attended.
-
The delegates' status will be updated accordingly.