Record Management
This section covers the key areas of record management in SuiteCRM, including how to create, edit, delete, mass update, merge, import, and export records.
Creating Records
Records can be created from several locations within SuiteCRM, giving you flexibility depending on where you are in the system at the time:
-
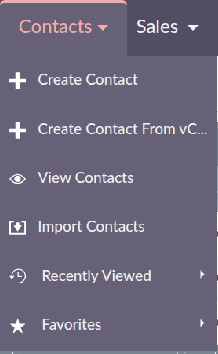
Top navigation bar (hover): Hovering over a module name in the top navigation bar will display a drop-down, which includes a Create button allowing you to create a new record in that module.
-
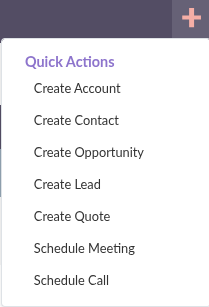
The + icon: A + icon is available in the top navigation bar, providing a quick way to create certain record types. Not all modules are available via this method, only a selected set of commonly used record types can be created this way.
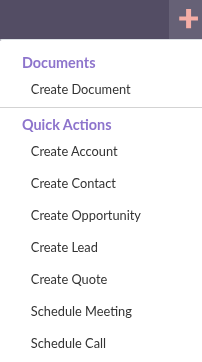
However, if you are already within a module, for example, viewing the Documents in the List View, the + icon will also include the option to create a new record for that module, regardless of whether it would normally appear in the quick create list.
-
From a sub-panel: When viewing a record in the Detail View, you can create a new related record directly from the relevant sub-panel. The new record will automatically be linked to the current record.

Once you click the Create option, you will be presented with the Edit View for that module, where you can enter the relevant data. Fields marked with a red asterisk (*) are required and must be completed before the record can be saved. SuiteCRM will validate your data on save and alert you if any required fields have been missed or if data has been entered in an incorrect format.
Once you have populated all the required fields, click Save to create the record. You will then be redirected to the Detail View of the newly created record.
Editing Records
Records can be edited from the Detail View by clicking the Pencil icon beside the fields, or by clicking the Edit button in the top right corner.
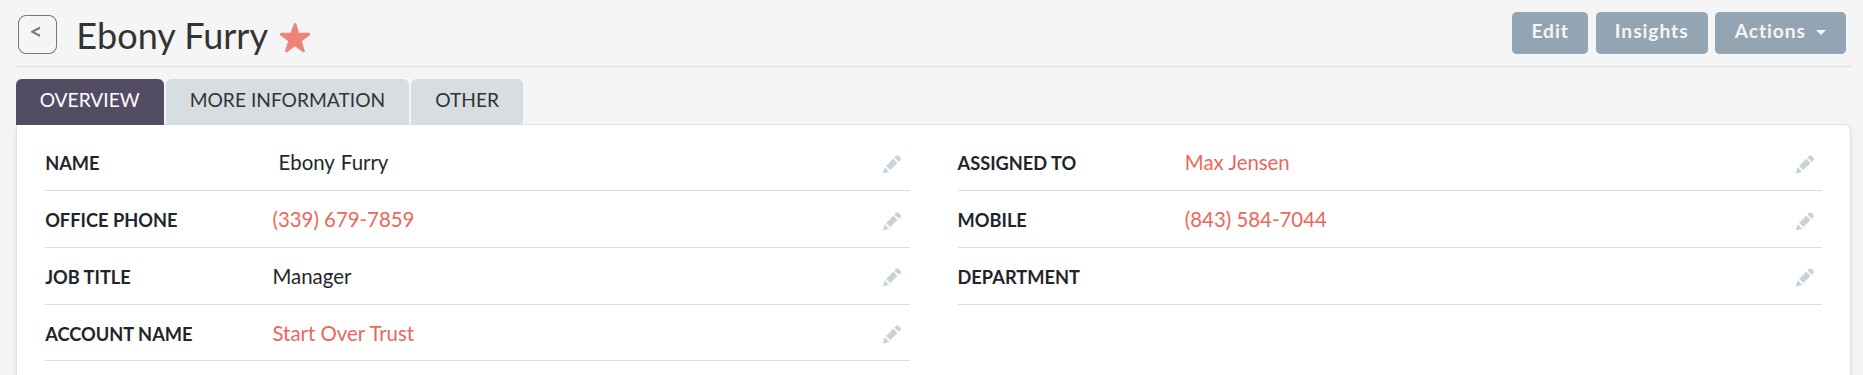
As with creating records, required fields are marked with a red asterisk () and validation will be applied on save. Once you have made your changes, click *Save to apply them. You will be redirected to the Detail View of the record you have just edited.
Deleting Records
Records can be deleted from both the Detail View and the List View:
-
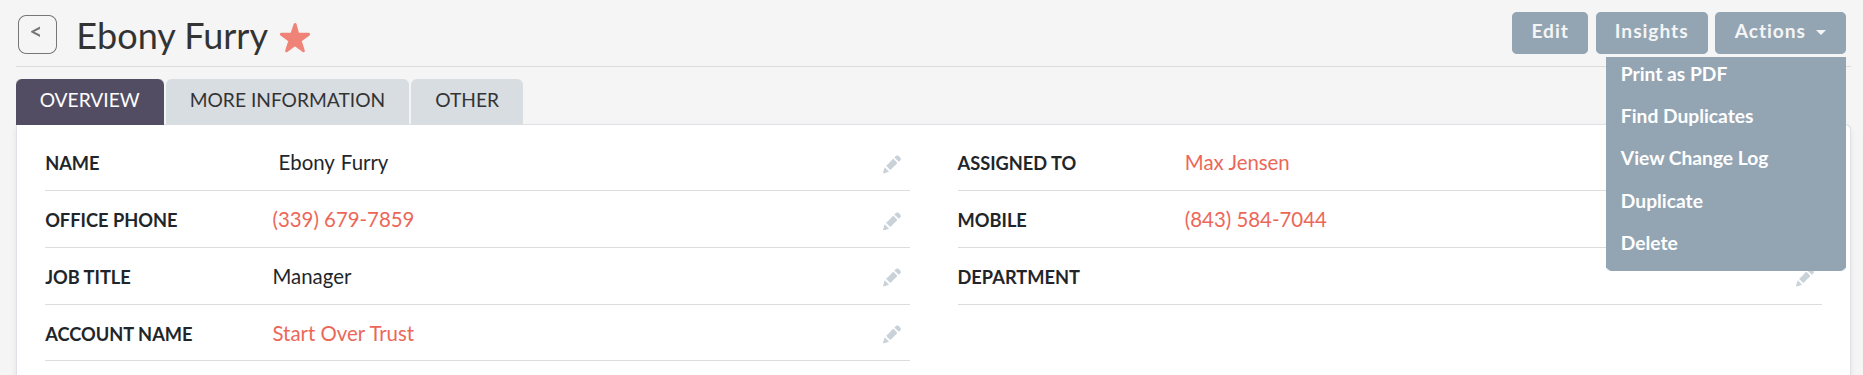
From the Detail View: select Delete from the Actions drop-down. You will be prompted to confirm the deletion before it is actioned. Clicking OK will permanently delete the record and redirect you to the module List View. Clicking Cancel will return you to the Detail View without making any changes.
-
From the List View: select the records you wish to delete using the checkboxes on the left-hand side of each row. You can select individual records, all records on the current page, or all records in the module. Once selected, choose Delete from the Bulk Action drop-down. You will be asked to confirm the deletion before it is carried out.

Mass Updating Records
Mass Update allows you to update a specific field or set of fields across multiple records simultaneously, saving considerable time when changes need to be applied across a large number of records.
To mass update records, select the records you wish to update from the List View using the checkboxes, then choose Mass Update from the Bulk Action drop-down.

A panel will appear at the top of the List View displaying all fields available for mass update. Populate the fields you wish to update and click Update to apply the changes to all selected records, or Cancel to discard them.
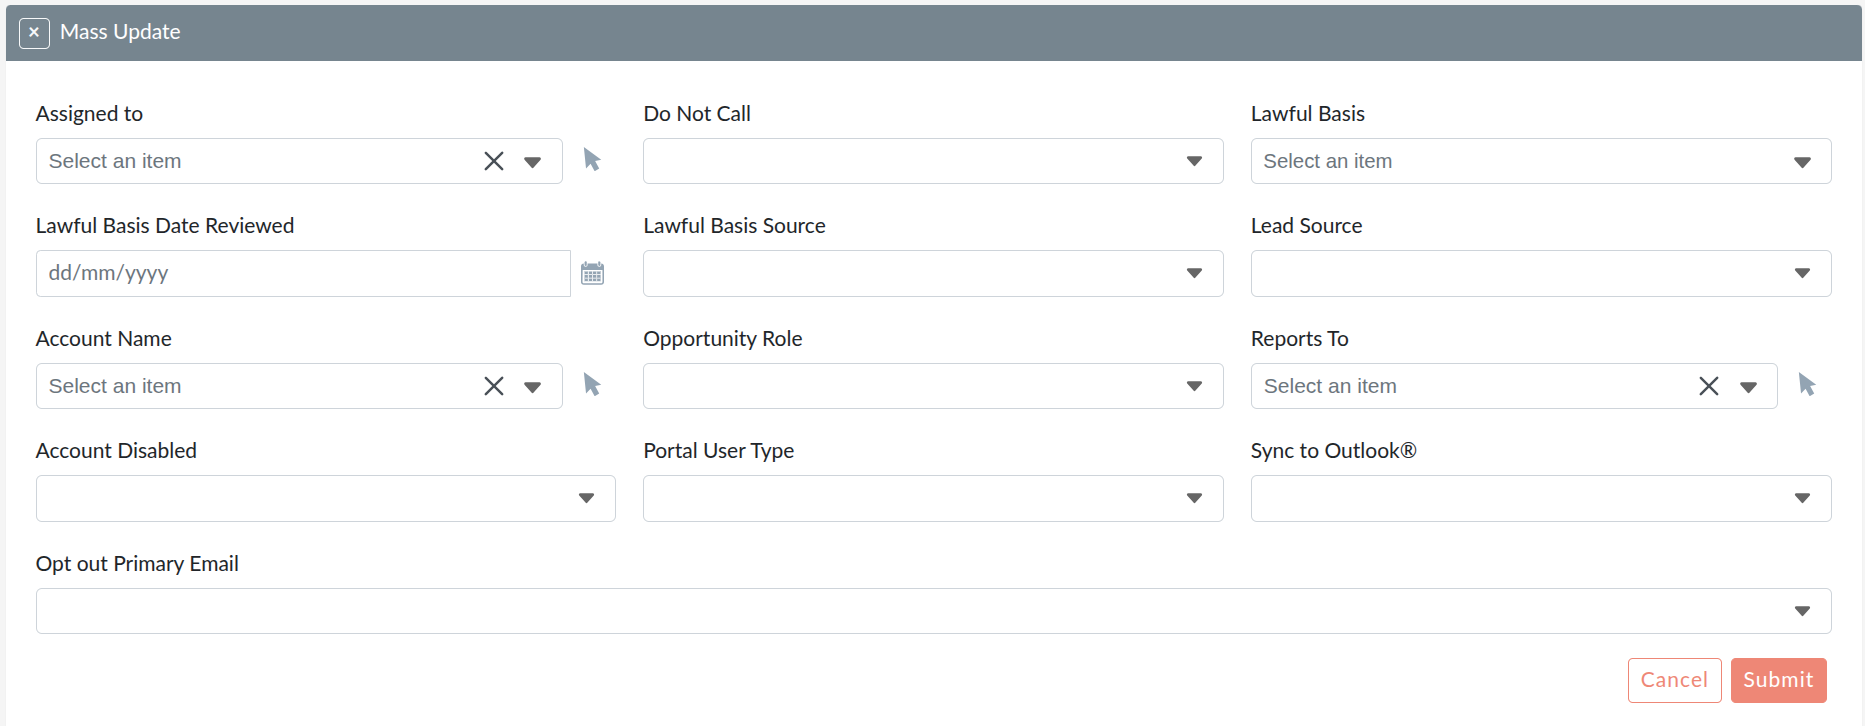
The fields available for mass update are configured per module and can be adjusted by a system administrator.
Merging Records
The Merge feature allows you to consolidate duplicate records into a single primary record, ensuring your data remains clean and accurate.
To merge records, select the records you wish to merge from the List View and choose Merge from the Bulk Action drop-down.

Alternatively, you can initiate a merge from the Detail View by using the Find Duplicates option, which will identify potential duplicate records for you to review.

Once on the merge screen, you will see the primary record alongside the duplicate records. You can use the Set as Primary button to designate which record should be the primary, and use the arrow buttons to move specific field values from the duplicate records into the primary record, giving you full control over which data is retained.
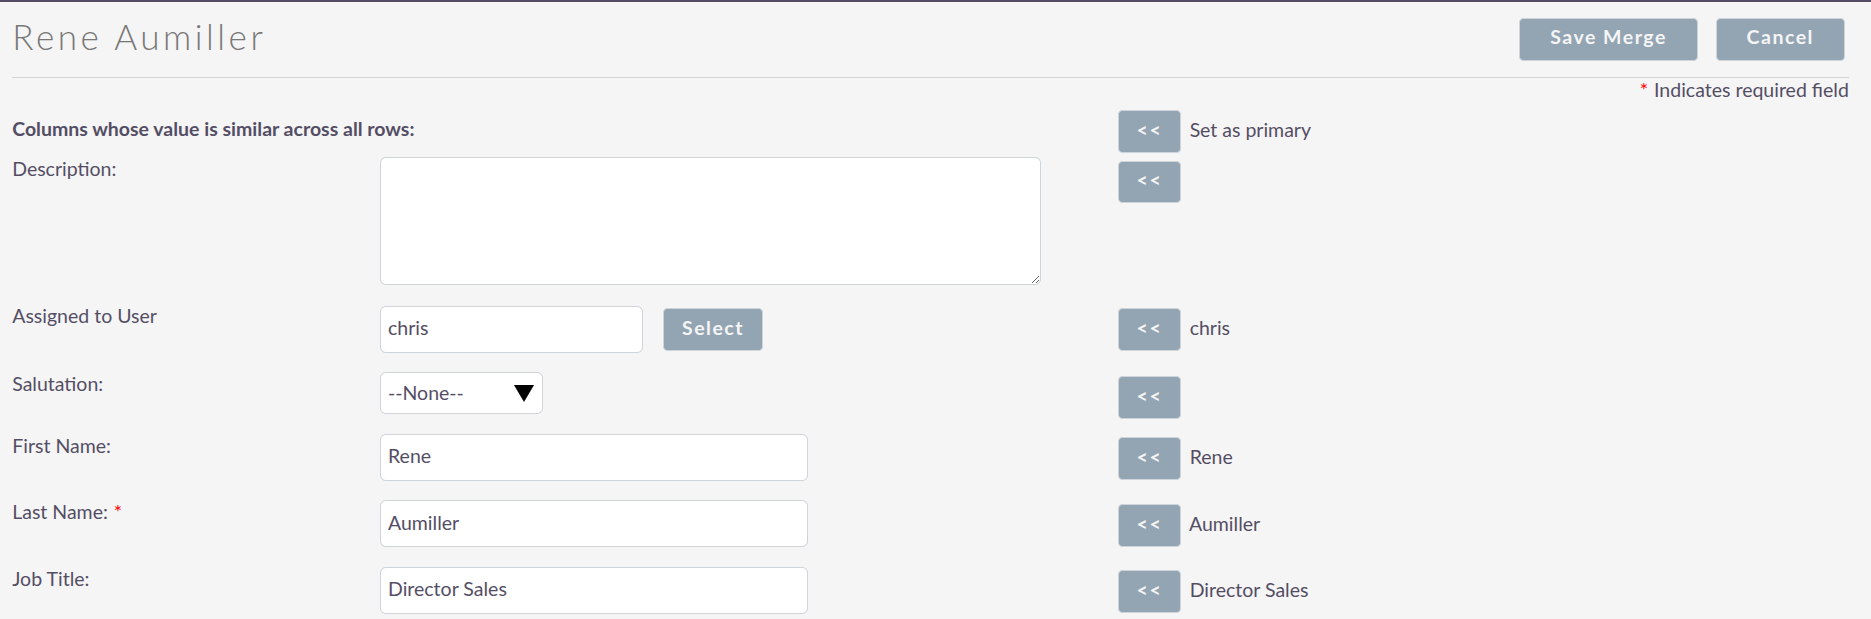
When you are satisfied with the merged data, click Save Merge. You will be prompted to confirm that the duplicate records will be deleted. Clicking OK will complete the merge and redirect you to the Detail View of the merged record. Clicking Cancel will discard the merge and return you to the List View.
Importing Records
SuiteCRM includes an Import Wizard that makes it straightforward to bring data into the system from external sources such as CSV files. The Import Wizard guides you through the process step by step, with hints and tips at each stage.
A few important things to note before importing:
-
If you are importing related data, for example, Contacts linked to Accounts, always import the Account data first. This allows SuiteCRM to automatically establish the relationship when the Contacts are imported.
-
A sample CSV template is available within the Import Wizard, which you can download and use as a guide for formatting your data correctly before import.
-
The Import Wizard supports auto-detection of file properties such as delimiters, date formats, and quote characters, simplifying the upload process.
-
Import settings, including field mappings and duplicate check configurations, can be saved for reuse in future imports.
To begin an import, hover over the module name in the top navigation bar and click Import.
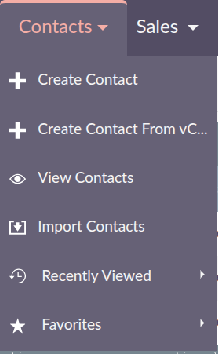
The Import Wizard will then guide you through uploading your file, confirming file properties, mapping fields, checking for duplicates, and completing the import. If any errors occur during the import, these will be flagged on the Errors tab so you can review and correct them before re-running the import.
Exporting Records
Records can be exported from any module in CSV format, which can then be opened in applications such as Microsoft Excel or LibreOffice Calc.
To export records, select the records you wish to export from the List View using the checkboxes, then choose Export from the Bulk Action drop-down. You can choose to export only the selected records, all records on the current page, or all records in the module.

The exported CSV file will contain all fields specified in the export list for that module, including the record ID. The record ID can be useful if you later want to perform an import that updates existing records rather than creating new ones.
When exporting drop-down field values, SuiteCRM exports the underlying database ID rather than the display label. For example, a priority field with options High, Medium, and Low may export as 1, 2, or 3 respectively. Bear this in mind if you plan to use the exported file for re-importing data.