Views
When working within SuiteCRM, you will encounter different views depending on what you are doing at any given time. Each view is structured to present information in the most useful way for that stage of the record management process. There are three main views:
-
List View
-
Detail View
-
Edit View
All of these views have specific purposes and these are described in the sub-sections below.
List View
The List View is the default view you are presented with when you navigate to any module. It displays all records for that module in a tabular format, allowing you to search and manage records at a glance. It will be different for each module as every module contains different fields, but it will have the same structure no matter which module you are viewing.
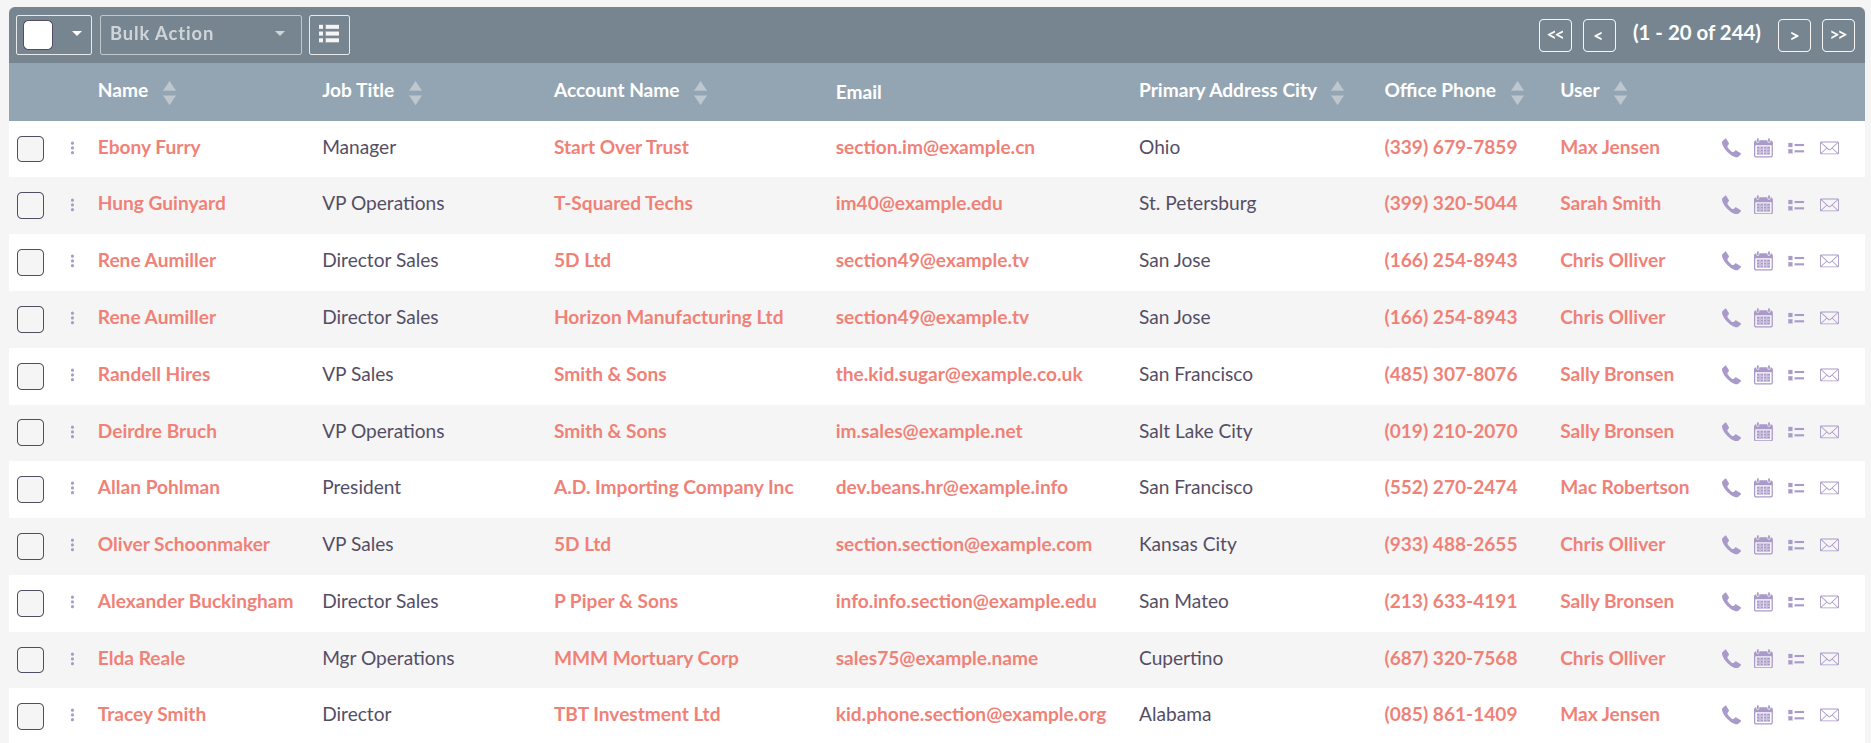
The List View provides a number of useful actions and features, such as filter and sorting, which are described in the following sections.
Filter
A filter panel is available at the top of the list, allowing you to search and filter records within the module. Refer to the Searching page for more detail on how this works.
Sorting Records
Clicking on a column header will sort the record list by that column in ascending or descending order, where sorting is enabled for that field.
Viewing a Record
Clicking on any hyperlinked value will take you to the Detail View of that record. Note that clicking a phone number will attempt to dial it, and clicking an email address will open the Compose Email pop-up.
Insights Panel
Some modules include an Insights panel displayed to the right of the record list. This panel provides quick visual charts summarising key data for that module. The Insights panel can be toggled on or off depending on your preference.
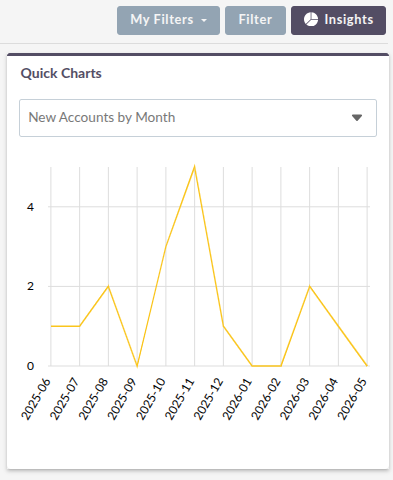
The charts available vary by module. For example, the Accounts module shows new accounts created, broken down by month.
Importantly, the charts within the Insights panel will respect any filters you have applied to the List View, meaning the data displayed will update to reflect your current search criteria.
Column Chooser
The List View includes a column chooser that allows you to control which columns are displayed. This is a personal setting and will not affect the view for any other users.
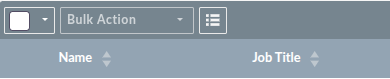
To add or remove columns:
-
Click the Column Chooser icon in the top-right area of the List View header.
-
A panel will appear showing the columns currently displayed and those available to add.
-
Select the columns you wish to display and deselect any you wish to hide by dragging and dropping the column name.
-
Click Save to apply the changes.
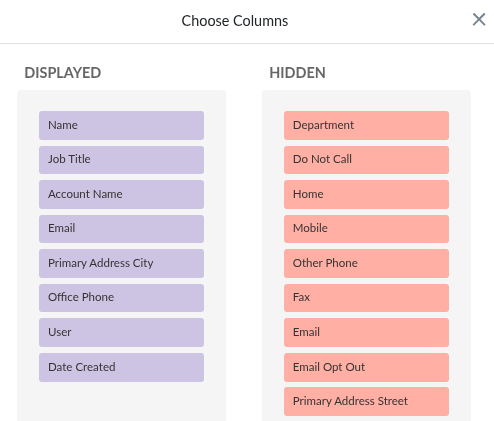
Your chosen columns will be retained the next time you visit the module.
Additional Record Information
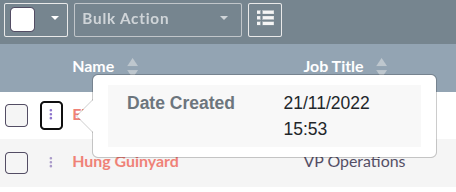
Where a record has more data than can be displayed within the visible columns, you will see a three-dot icon (⋮) to the left of the record row. Clicking this icon will display a small pop-up showing the additional field information for that record that is not visible in the current List View columns. This allows you to quickly view extra detail without having to open the full record.
Bulk Actions
The List View also allows you to perform actions on multiple records at once using the Bulk Action drop-down.
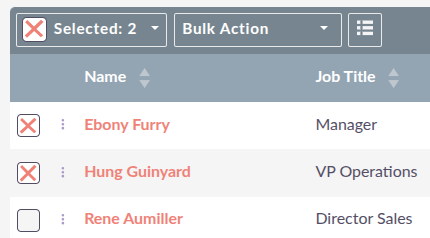
To use this, first select the records you wish to act on by checking the checkbox to the left of each record, then choose the desired action from the drop-down. Common bulk actions include:
-
Delete: Permanently removes the selected records from the module.
-
Mass Update: Allows you to update a specific field or set of fields across all selected records in one action, saving significant time when making widespread changes.
-
Merge: Allows you to combine duplicate records into a single primary record. You select a primary record and the duplicate data is merged into it. Once saved, the duplicate records are deleted and all associated data and history is consolidated into the primary record.
-
Export: Exports the selected records to a CSV file, which can then be opened in a spreadsheet application such as Microsoft Excel. This is useful for reporting or sharing data outside of SuiteCRM.
The fields available for Mass Update, and whether duplicate merging is enabled, can be configured by a system administrator.
Detail View
The Detail View is presented when you open and view an individual record. It displays all of the information held against that record, organised into tabs or panels to keep data structured and easy to navigate with minimal scrolling.
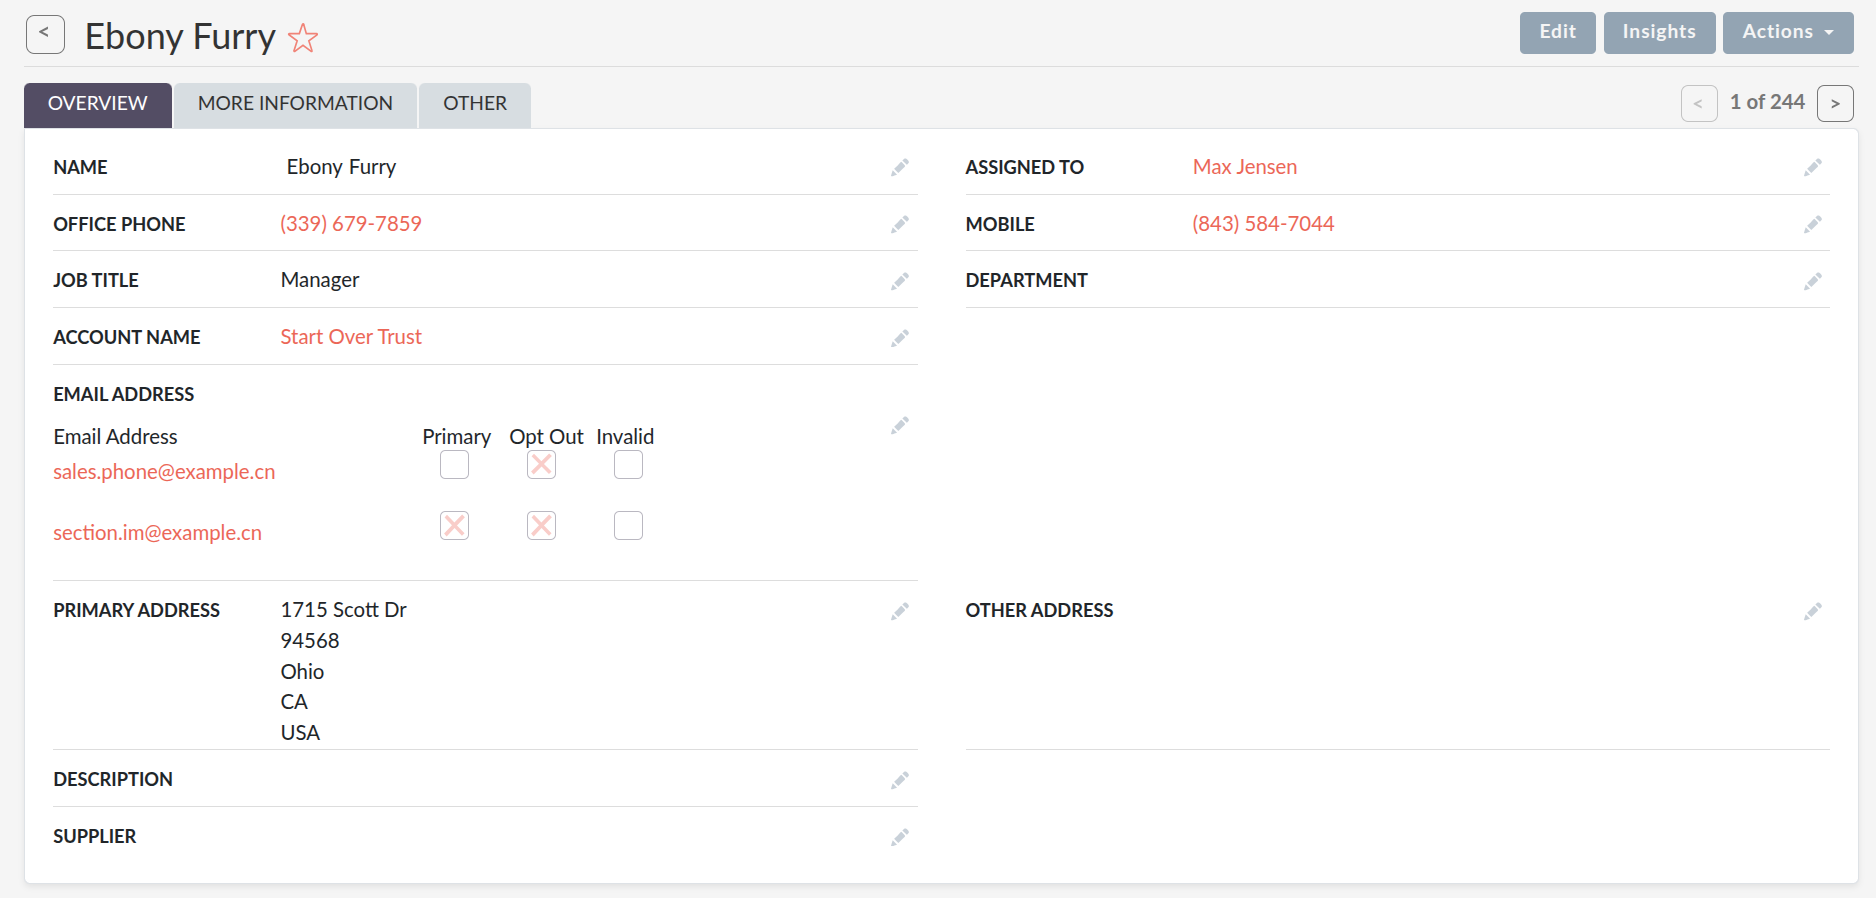
From the Detail View, the following standard actions are available for most modules via the Actions drop-down:
-
Find Duplicates: Runs a duplicate check using the system’s built-in duplicate detection functionality, helping you identify and merge any duplicate records.
-
View Change Log: Displays a log of changes made to any audited fields on the record, allowing you to track what was changed, by whom, and when.
-
Duplicate: Creates a copy of the current record, pre-populated with the same data. Useful when creating multiple similar records.
-
Delete: Deletes the current record. You will be redirected back to the List View after deletion.
Any hyperlinked fields within the Detail View can be clicked to navigate directly to the related record.
To configure which fields are audited, or to adjust duplicate detection settings, contact your system administrator.
The actions available to you will depend on your user permissions. If an action you require is not visible, contact your system administrator.
Marking a Record as a Favourite
Records can be marked as a favourite by clicking the Star icon on the record. This makes the record easy to find later by using the My Favourites filter in the module’s search panel, as described in the Searching page. This is a personal setting and will not affect other users.

Insights Panel
Some modules include an Insights panel within the Detail View, accessible by clicking the Insights button at the top right of the record. This panel provides a snapshot of key interaction history and activity related to the record, without needing to scroll through sub-panels.
Taking the Contacts module as an example, the Insights panel displays the following:
-
Last Interaction: A summary at the top of the panel showing when the most recent interaction with the Contact took place and what type it was. For example, "Your last interaction was an email on 30/07/2025 15:16."
-
Timeline: A chronological feed of activities associated with the Contact, displayed in reverse chronological order. Each entry shows the type of activity (indicated by an icon), the subject or title, the user who carried it out, and the date and time. Activity types shown in the timeline can include emails, calls, meetings, tasks, and documents.
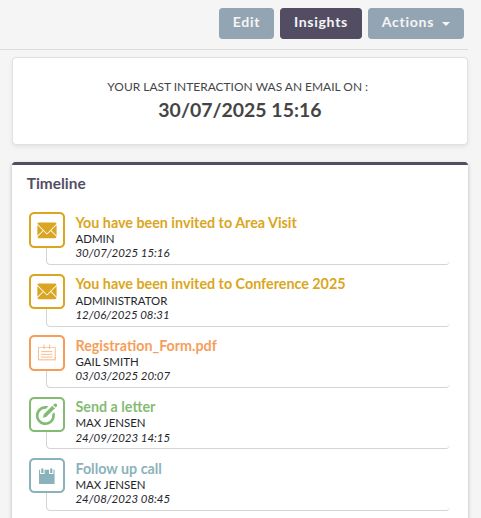
The data displayed in the Insights panel will vary depending on the module you are viewing, but it is designed to surface the most relevant relationship and activity information quickly, without having to navigate away from the record.
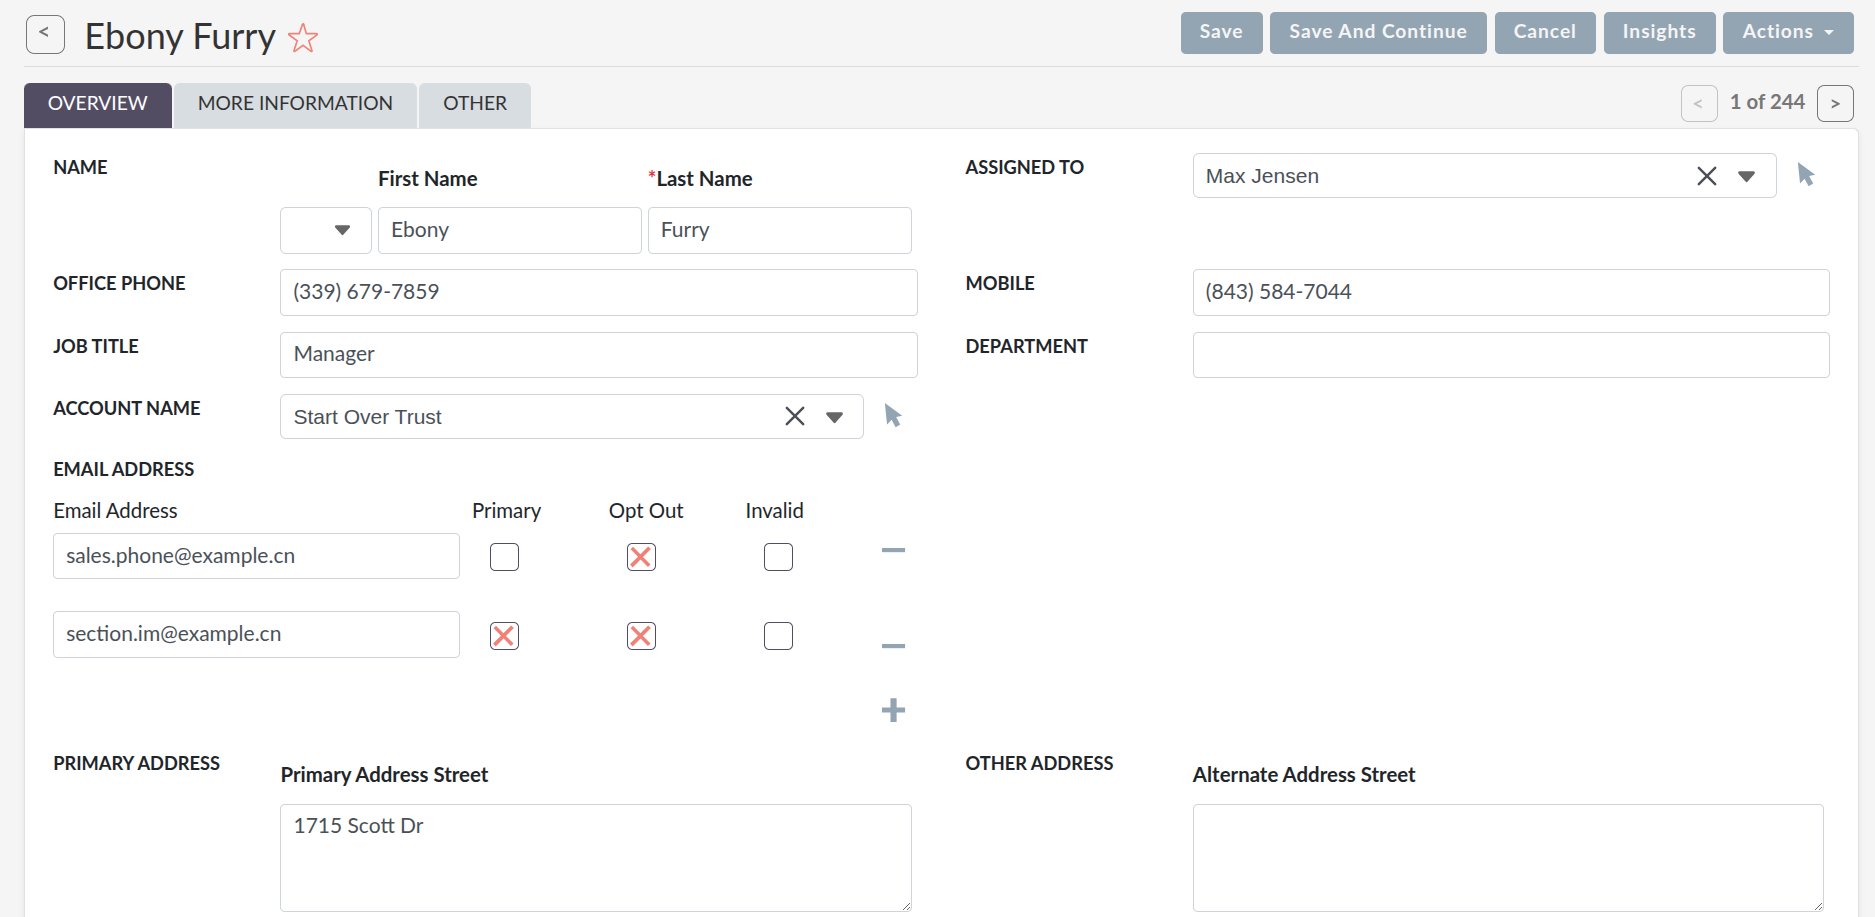
Edit View
The Edit View is presented when you edit an existing record. It displays all editable fields for that record, allowing you to update existing data or add new information as required. When you are viewing a record in the Detail View, you can open the Edit View by clicking a Pencil Icon or the Edit button. Once you have made your changes, click Save to apply them. Clicking Cancel will discard any unsaved changes. Either action will return you to the Detail View of the record you were editing.
Before making changes, you can click View Change Log to review any previous edits made to audited fields on the record. This is useful for understanding the history of a record before updating it.
The fields and layout displayed in all Views can be customised by a system administrator via Studio to suit your organisation’s specific requirements.