Azure SAML Single Sign On
The following documentation is for SuiteCRM Version 7.x; to see documentation on the same topic for Version 8+, click here.
Azure SAML Single Sign On
SuiteCRM can utilise a third party identity provider such as Microsoft Azure Active Directory and the SAML protocol to achieve single sign-on authentication. You can then use Azure AD to control who has access to SuiteCRM and enable automatic sign in.
Considerations
-
We recommend using the latest release of SuiteCRM 7.x to benefit from the latest improvements and fixes.
-
The user must exist in both Azure AD and SuiteCRM for login to be successful.
-
The usernames in SuiteCRM 7.x must match the email address in Azure. If you have used abbreviated or shortened usernames these should be changed to email addresses in advance.
1. Setup APP in Azure
The first step is to create a new Enterprise Application in Azure. This app defines how Azure, as the Identify provider (IdP) will interact with your SuiteCRM instance. Doing so will also provide you with the required values and certificate to configure SuiteCRM. SAML apps in Azure are unique to each instance, as the CRM URL is verified as part of the sign in process. If SAML is needed for multiple staging, test or production environments a new app will be needed for each.
1.1. Create the new application
Login to Microsoft Azure and navigate to 'Azure Active Directory' section using the icon on the home page
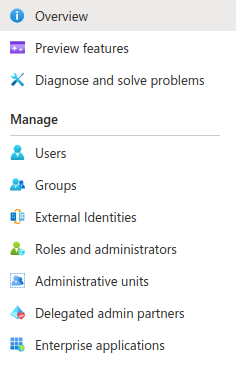
From the left hand Menu select 'Enterprise applications'
From the top menu, select 'New Application'

From the top menu, select 'Create your own application'
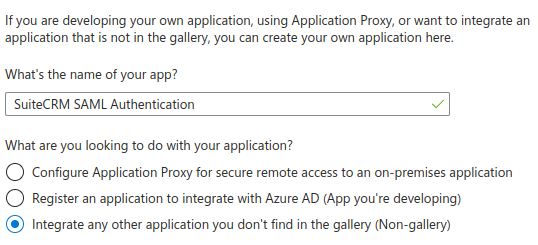
A new side window will open, you can use this to create your application.
-
Enter a descriptive name such as 'SuiteCRM SAML Authentication'
-
Choose 'Integrate any other application you don’t find in the gallery (Non-gallery)'
-
Click Create and you will be taken to the 'Application Overview' after a short delay
1.2. Configure the new application
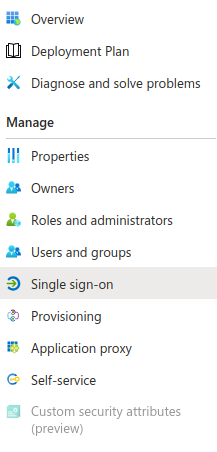
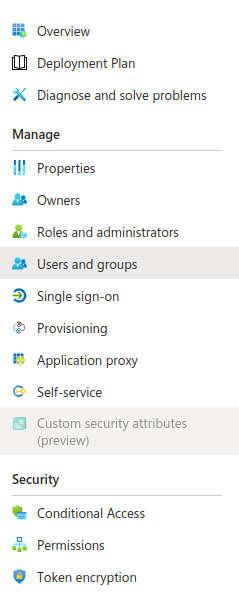
From the left hand Menu select 'Single sign-on' from the Manage category
Select SAML from the available options

Click on the pen icon to Edit the Basic SAML Configuration
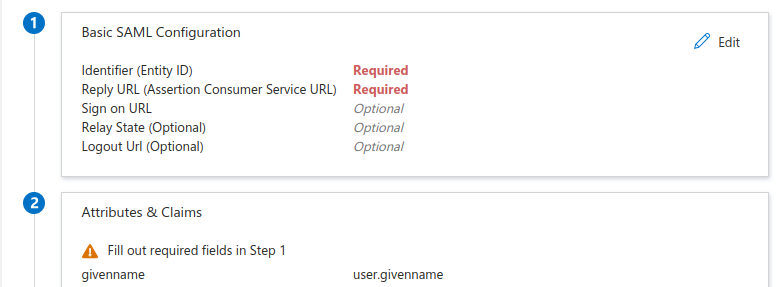
SuiteCRM uses the same value for Entity ID, ACS URL and Sign On URL.
The value should be your SuiteCRM URL in the following format:
{CRM URL}/index.php?action=Login&module=Users
-
In the Identifier (Entity ID) section, enter your SuiteCRM URL as prepared in the previous step
-
In the Reply URL (Assertion Consumer Service URL) section, enter your SuiteCRM URL as prepared in the previous step
-
In the Sign on URL (Optional) section, enter your SuiteCRM URL as prepared in the previous step
-
Verify that the same URL is present in all three of these fields, then click Save
1.3. Store the required settings for later use
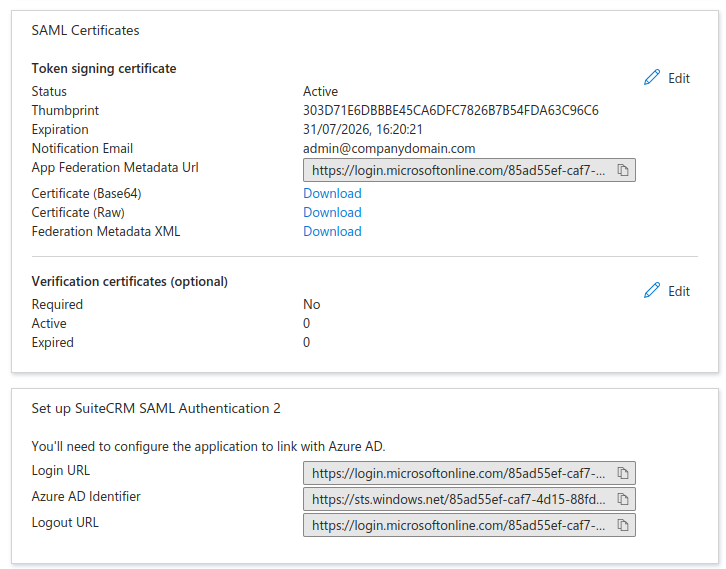
Scroll down to the SAML Certificates section and download the Certificate (Base64) and store it for later
Scroll further down and store the Login URL and Logout URL and again, store these for later.
2. Add users to APP in Azure
Before your users can login to SuiteCRM using SSO with Azure, they must be added to the newly created application. Users can be added individually or in groups, depending upon how your Azure Active Directory is configured. Only users which have been added to the 'SuiteCRM SAML Authentication' Application will be able to login.
From within your newly created Enterprise Application:
-
From the left hand menu, select 'Users and Groups'
-
From the top menu, select 'add user/group'
You can now assign either users or groups to your 'SuiteCRM SAML Authentication' Application.
3. Setup SAML in SuiteCRM
Before you can finish setting up your users in SuiteCRM you must first enable SAML. Once this step is complete your users will no longer be able to login in the normal way and SSO must be used.
3.1. Enable SAML
Sign in to SuiteCRM as an administrator
Go to Admin → Password Management
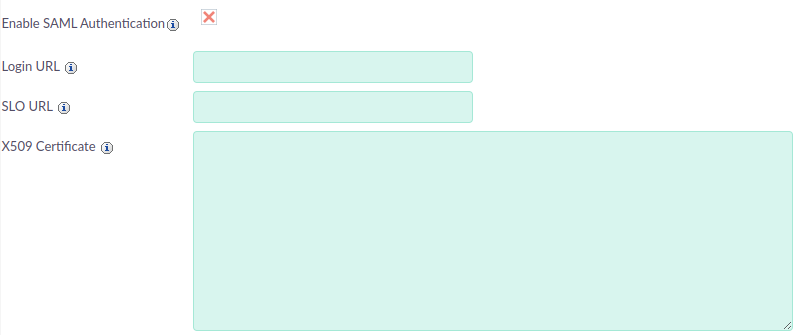
Select Enable SAML Authentication
In the SAML Authentication section, add the following information
-
Login URL: Paste the value of the Login URL retrieved from Azure
-
SLO URL: Paste the value of the Logout URL retrieved from Azure
-
X.509 Certificate: Paste the contents of the Base64 Certificate retrieved from Azure
Save your changes
3.2. Enable SAML for your users
Once SuiteCRM has been configured to use SAML, you can configure your individual users to use SAML to login. You must complete this step for each user who will login using SSO.
-
Create or edit an existing CRM User, setting their username to match the email address in Azure.
-
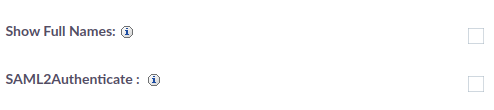
Enable SAML Login for that user, by navigating to the Advanced tab, and checking the SAML2Authenticate
-
You may wish to setup and assign any Roles, Security Groups required for the user at this stage before they first login